
In our last post, we explored single-channel packet capture on macOS using the AirTool application. In this post, let’s look at how you can perform a multi-channel packet capture using the same tool.
To support multi-channel packet capture, you’ll need a device equipped with multiple wireless adapters. There are a few options available-such as the WLANPi or Oscium Nomad. For this post, I’ll be using a WLANPi with multiple USB adapters as the remote capture device.
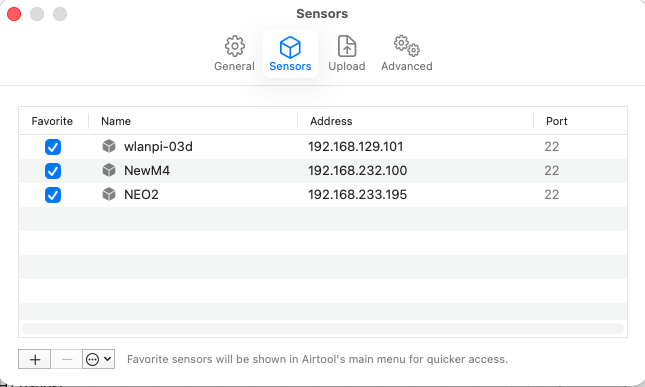
You can add your WLANPi device as a new sensor by going to ‘Capture on Sensors‘ > ‘Manage Sensors‘, clicking the ‘+‘ icon, and entering a name and IP address for your sensor.
Next, go to the ‘Multi-source Capture‘ option, select your sensor, and choose the interface details (wlan0 is typically the built-in adapter).
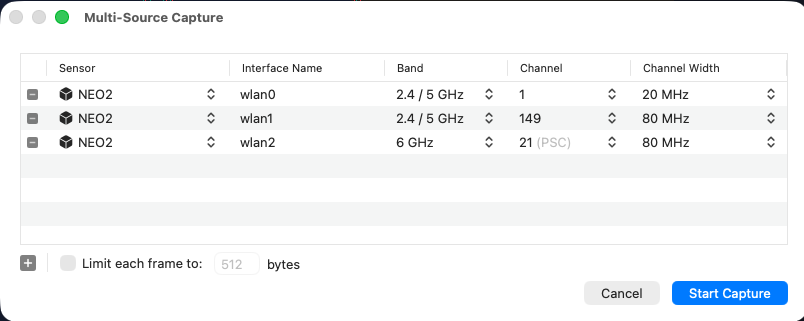
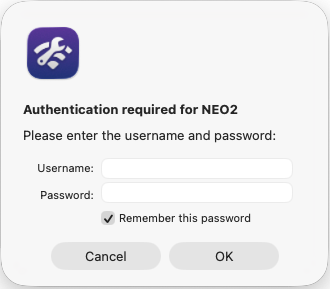
Then you simply click ‘start capture‘ and it will prompt for username/password for the WLANPi device if it is first time use.
Here is a short video demonstrating this capability. (Note that one information about M4+ require POE to power it is not accurate)
In the next post, we will look at how you can capture Wi-Fi packets in a Windows OS environment.
